Put a Lid on it
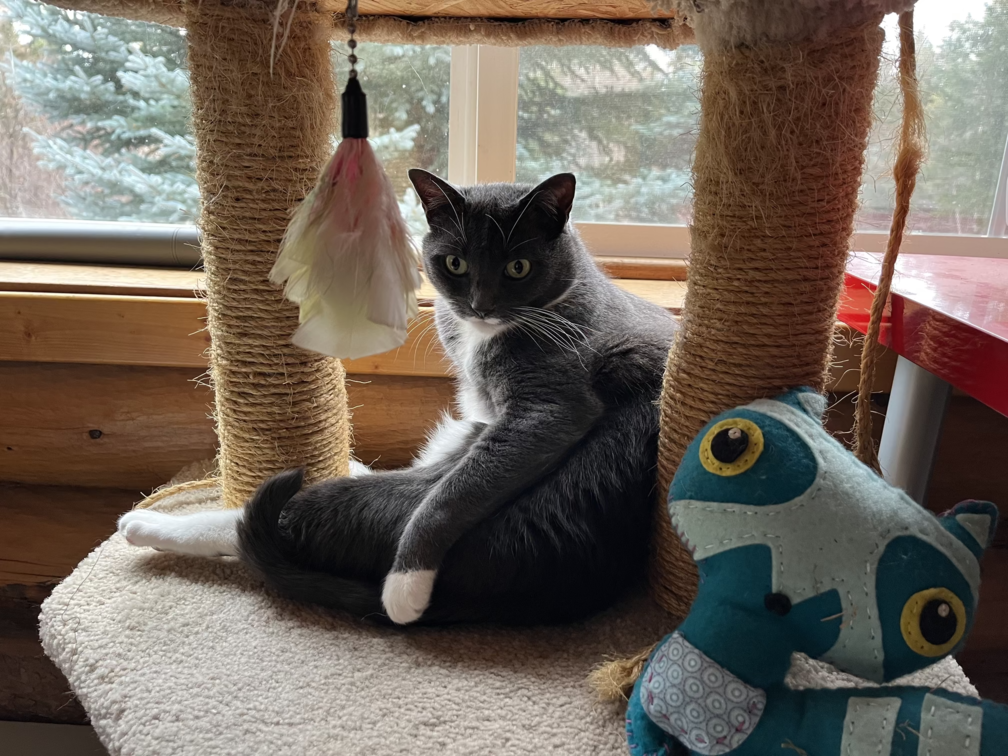
We have a cat:
She eats food:
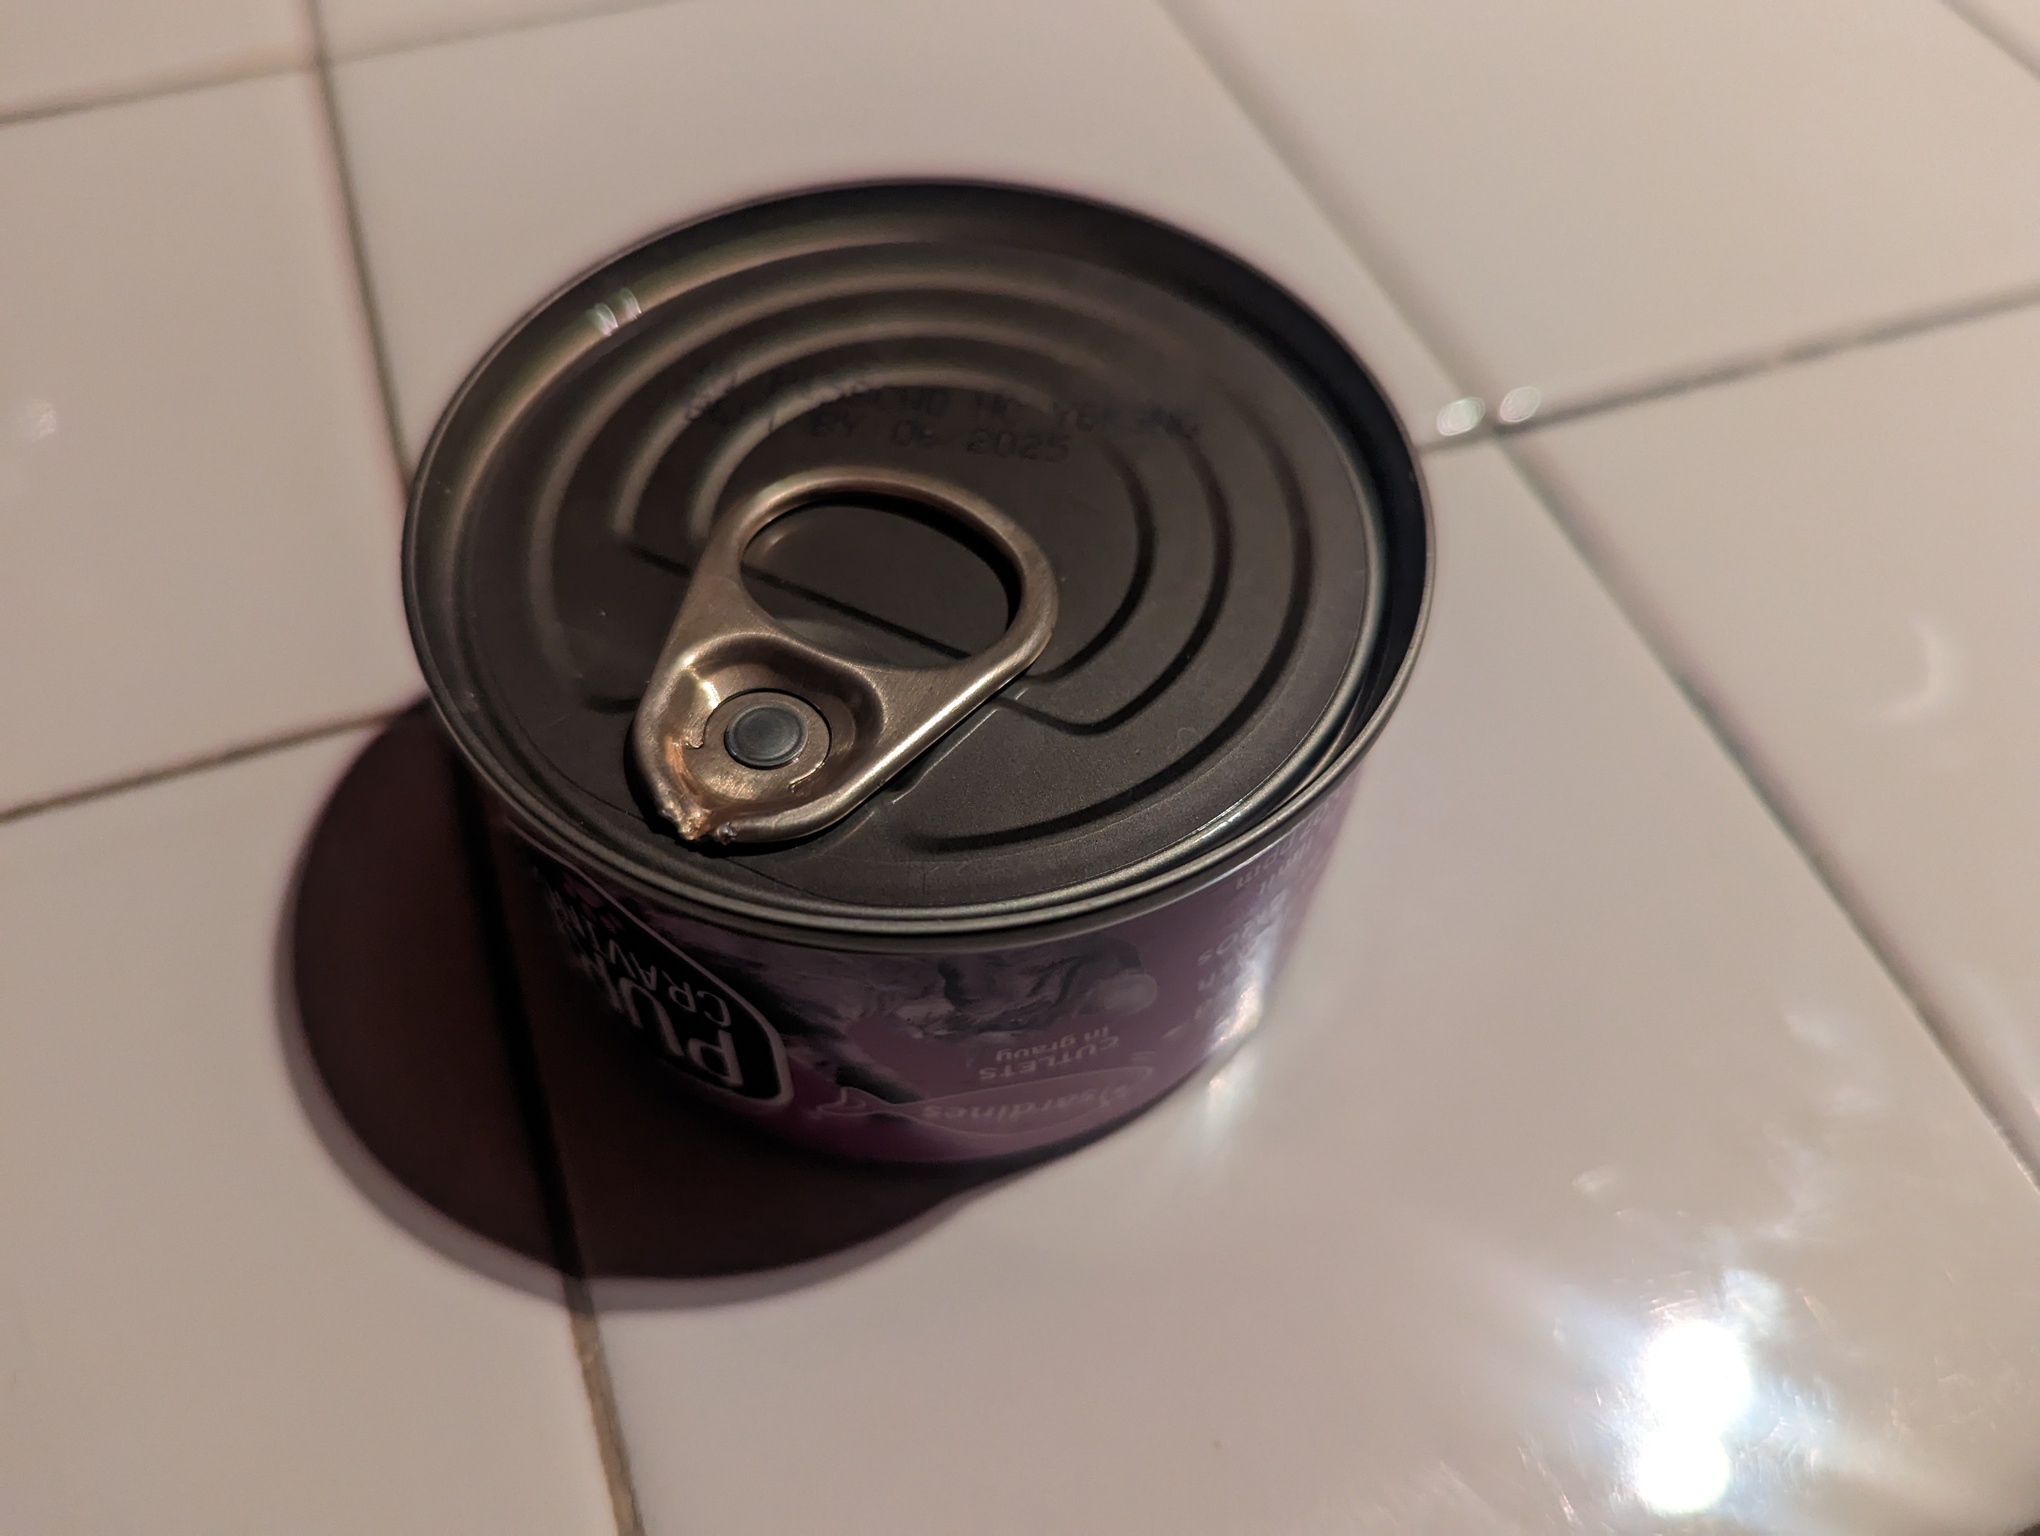
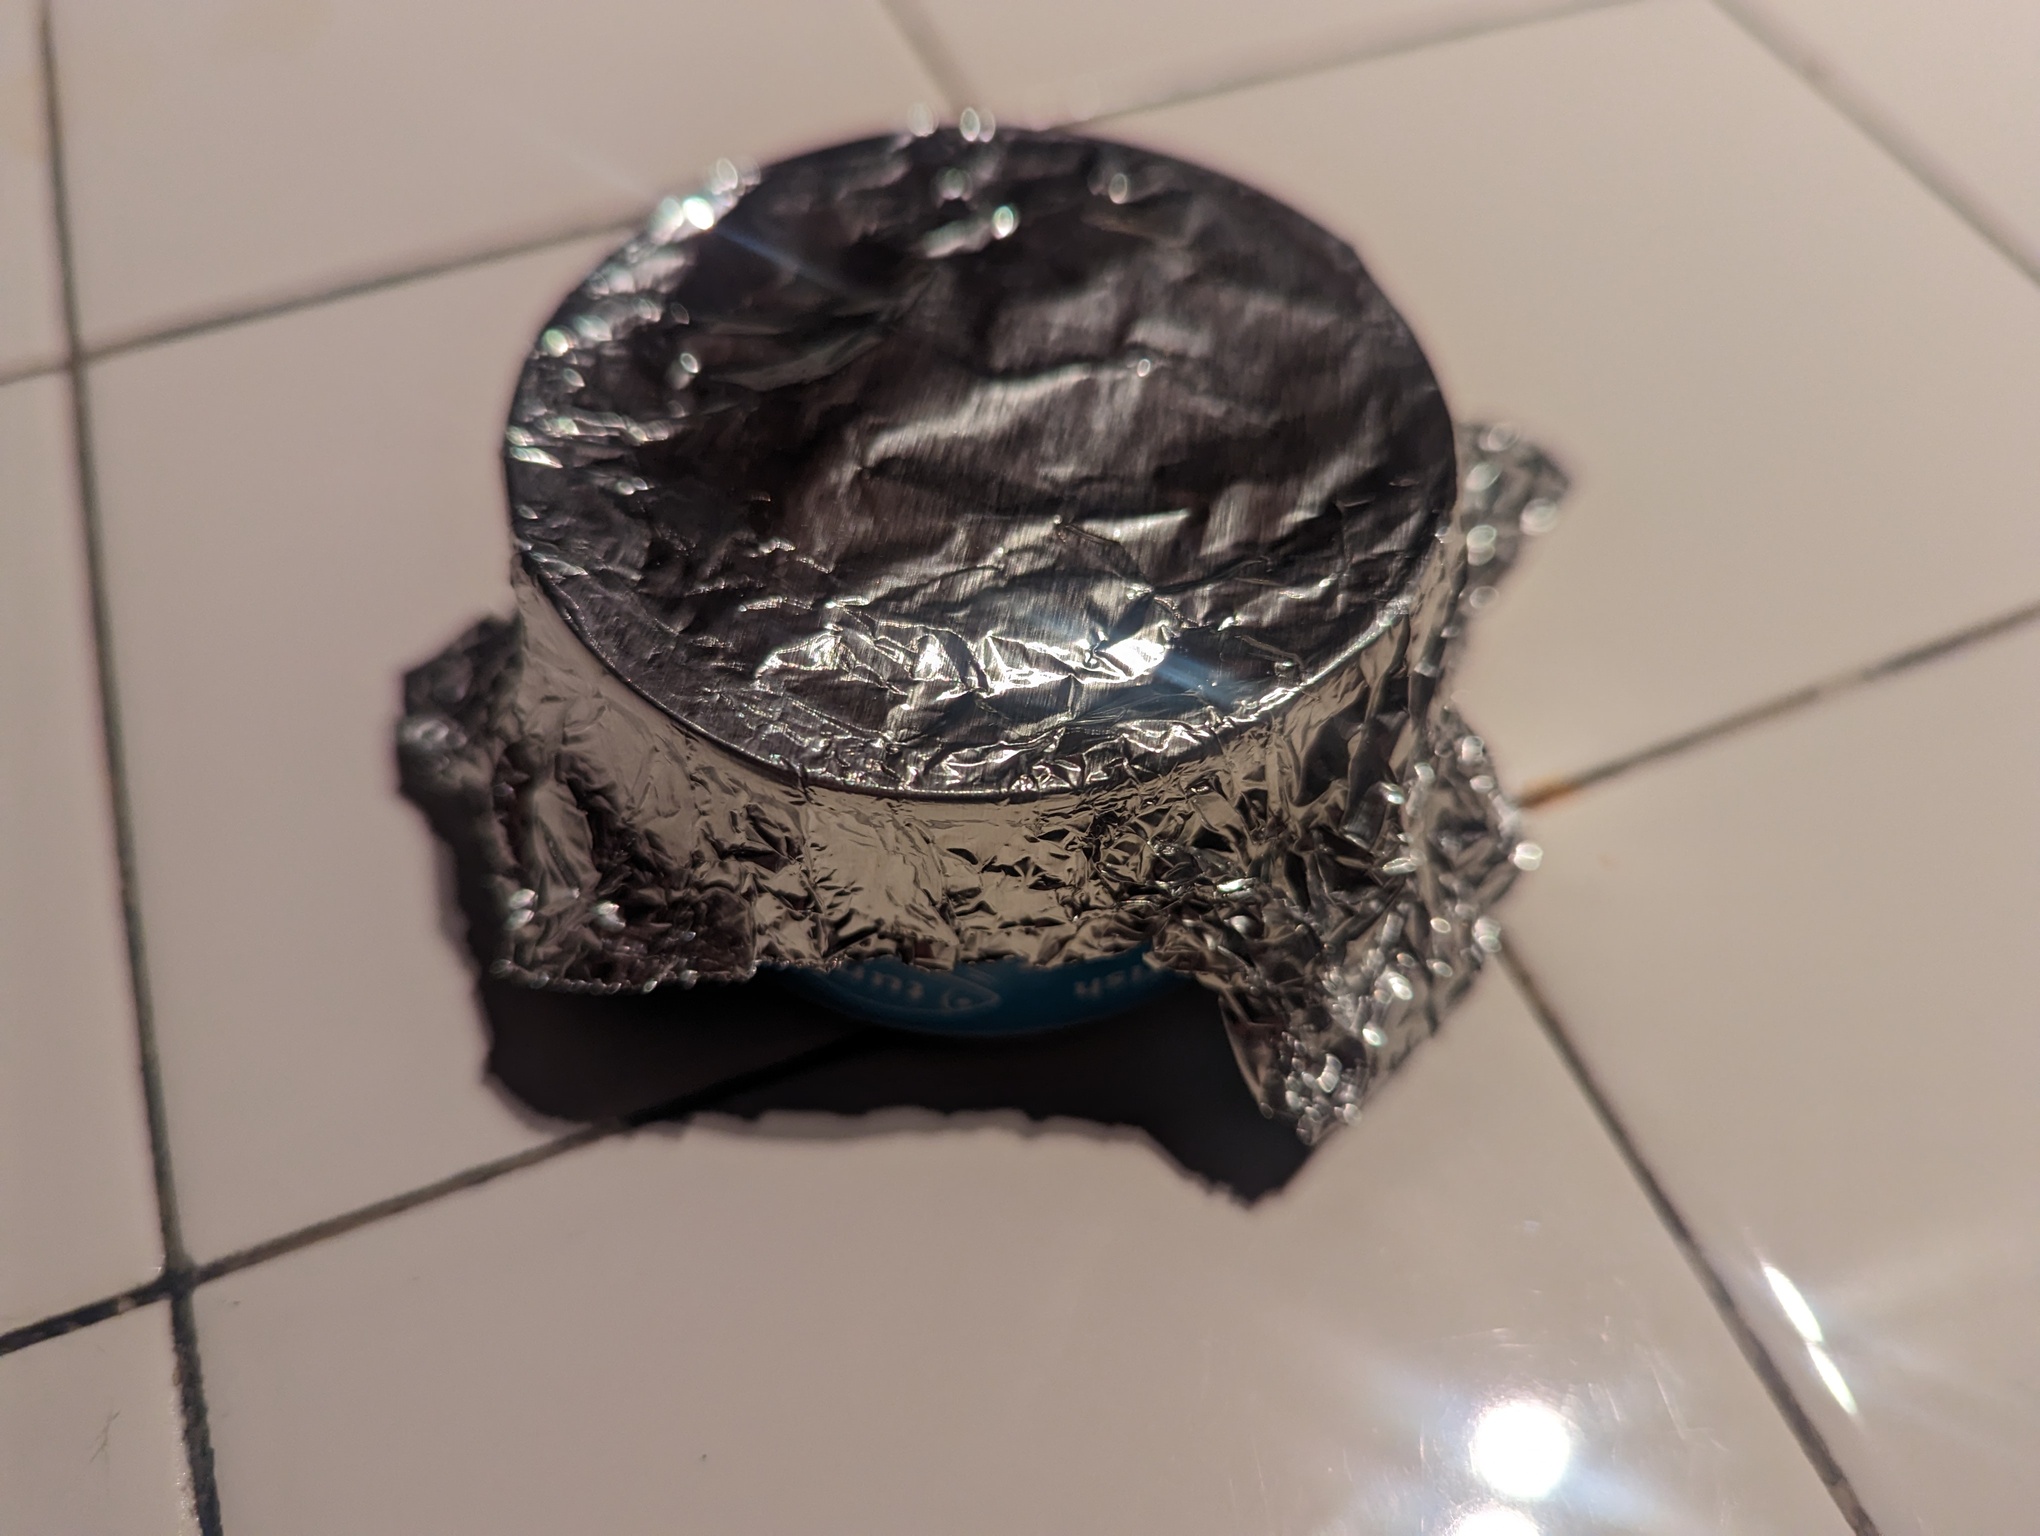
We use a 1/2 can per feeding (and 2 feeding per day), so we cover open cans for ~12 hours a day in the fridge like this currently:
Given our current solution, the requirements aren’t that difficult (i hope):
- Something secure enough to pick up and carry the can around with
- Something quick to print
- Something reasonably resilient.
I measured the can with my trusty calipers The three dimensions that matter:
- Diameter at the lid/lip: 68mm
- Diameter everywhere else: 66mm
- Height of the ‘lip’: 3mm
We’re gonna 3d print something using openSCAD, cura, octoprint, and my ender 3v2.
1st Stab
3 different sized cylinders, 2 with the centers cut out.
//vars
$diameter = 68;
$size = $diameter/2+1.5;


//top
cylinder(h=1,r=$size,center=false);


translate([0,0,1])
    //rim catcher
    difference(){
            cylinder(h=3,r=$size,center=false);
            cylinder(h=3.5,r=($diameter+1)/2,center=false);
    }

translate([0,0,4])
    //rim holder
    difference(){
        cylinder(h=1.0, r=$size,center=false);
        cylinder(h=1.5, r=($diameter-1)/2, center=false);
    }
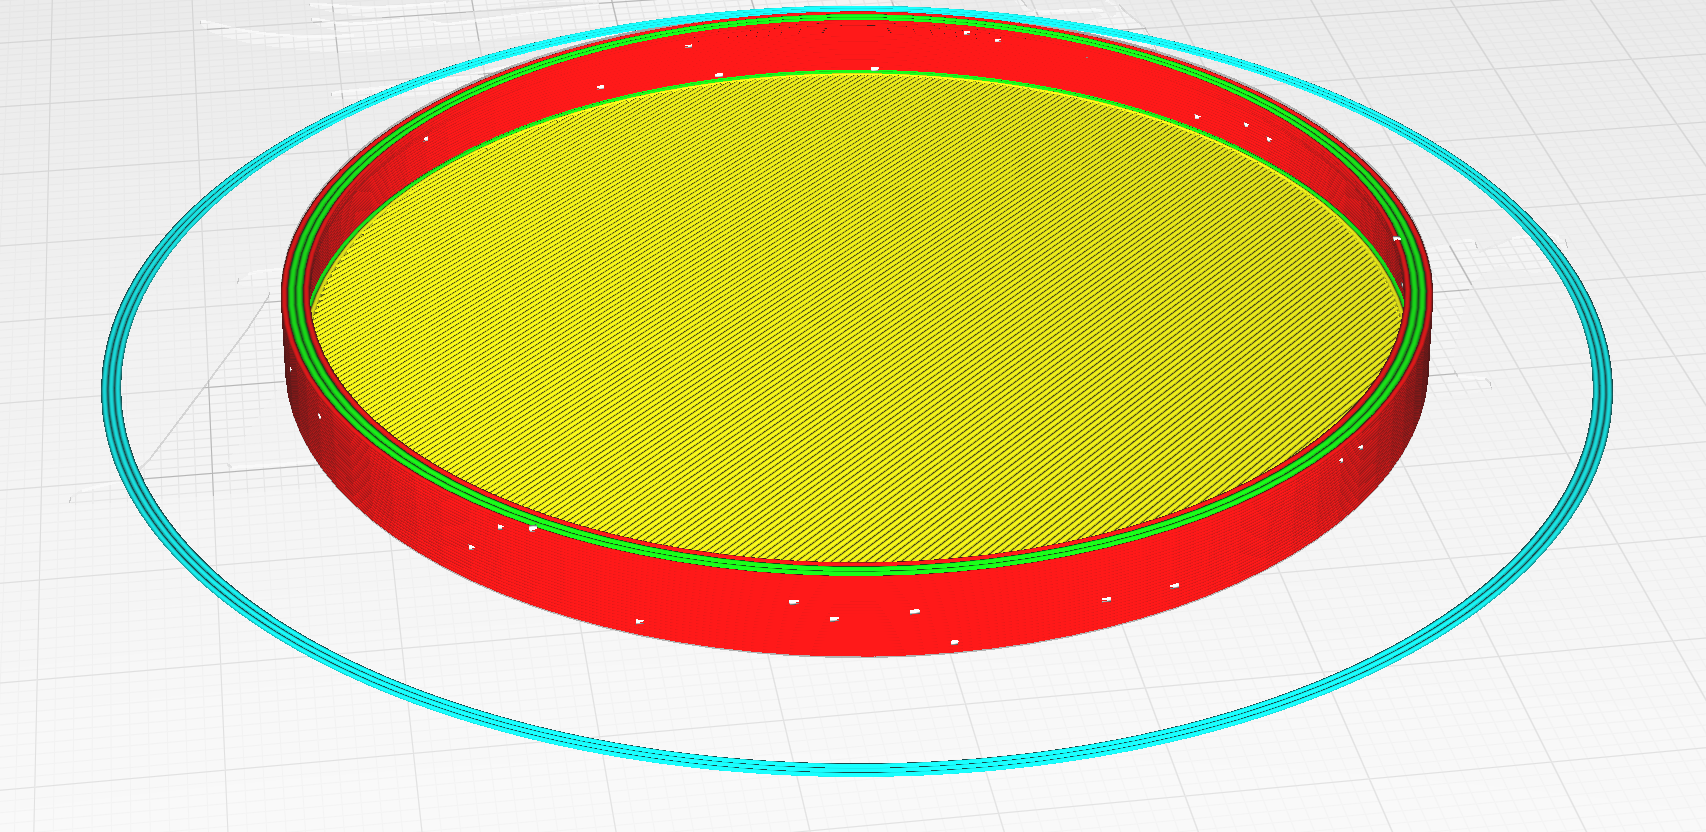
This renders out to something like this in Cura:
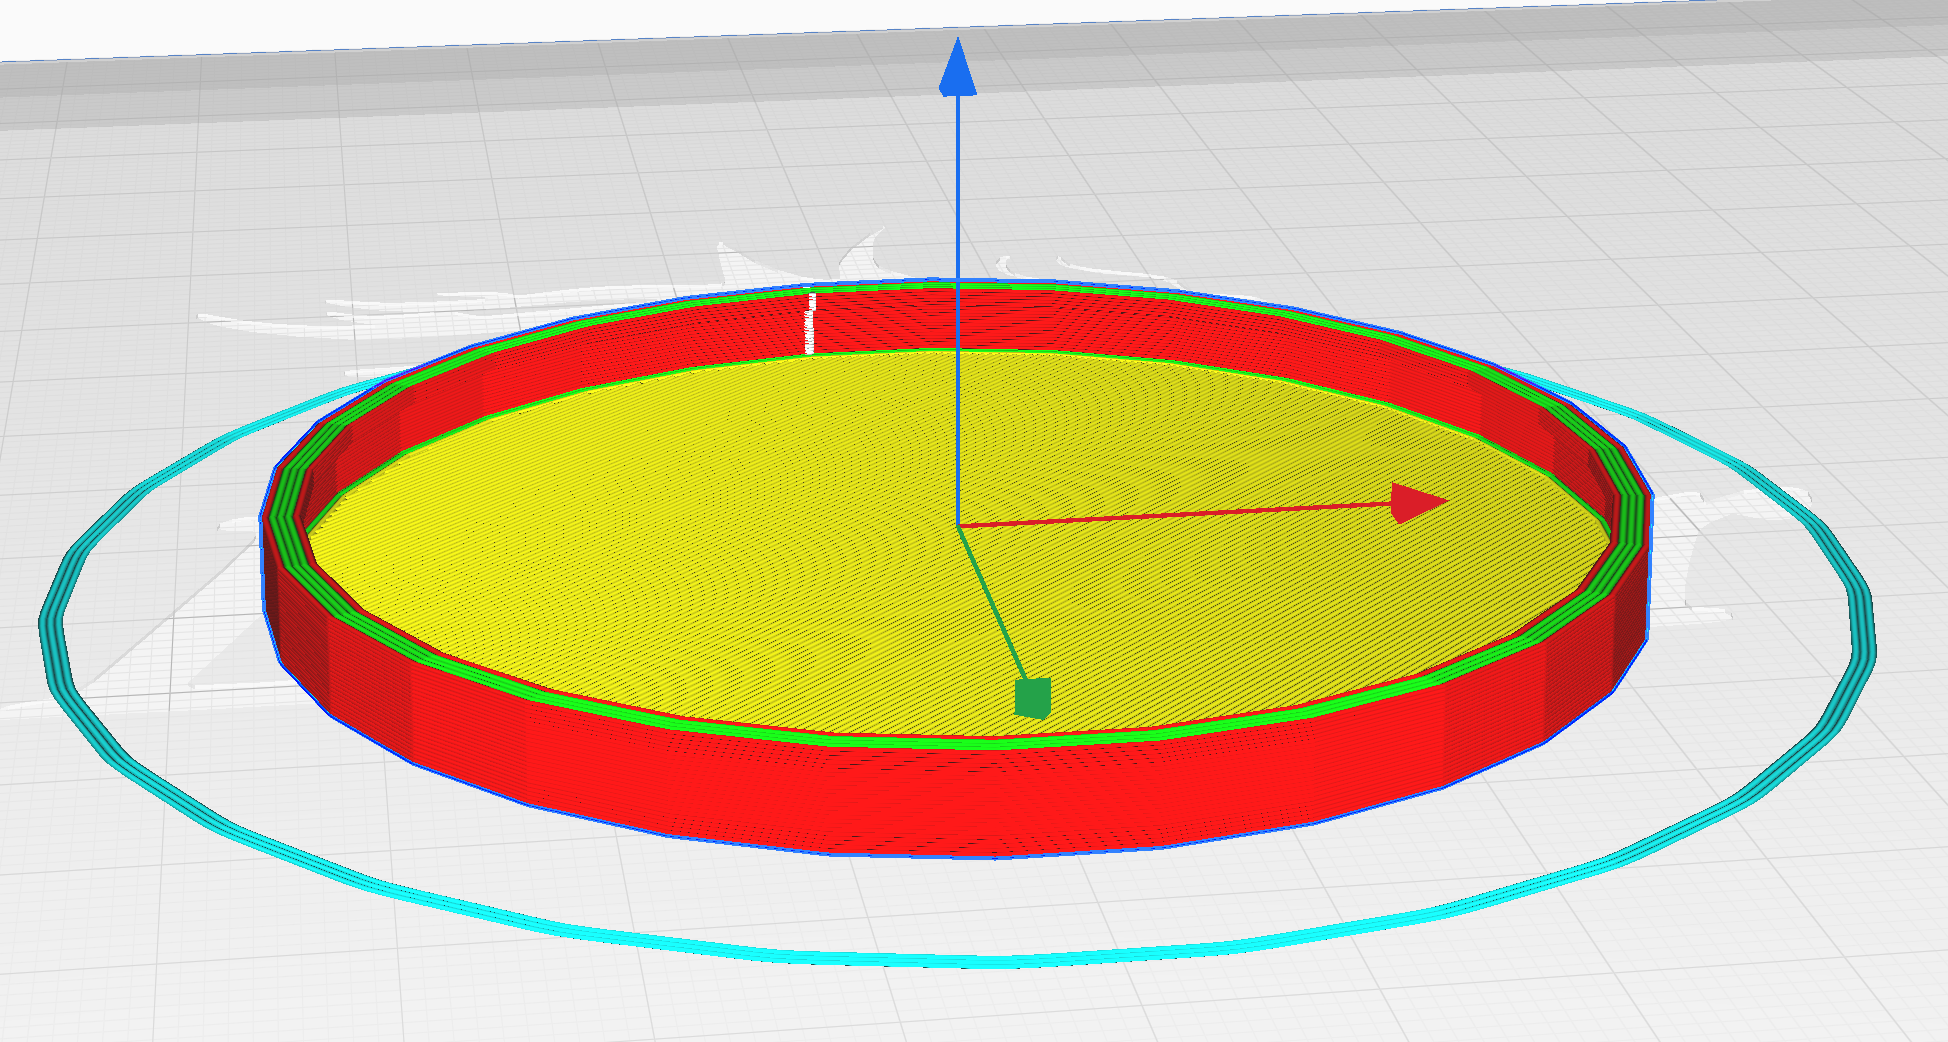
You can’t really see the lip, but it’s there.
Printing on the Ender with Hatchbox PLA in Copper (which I absolutely love). Estimated print time in 50 minutes.
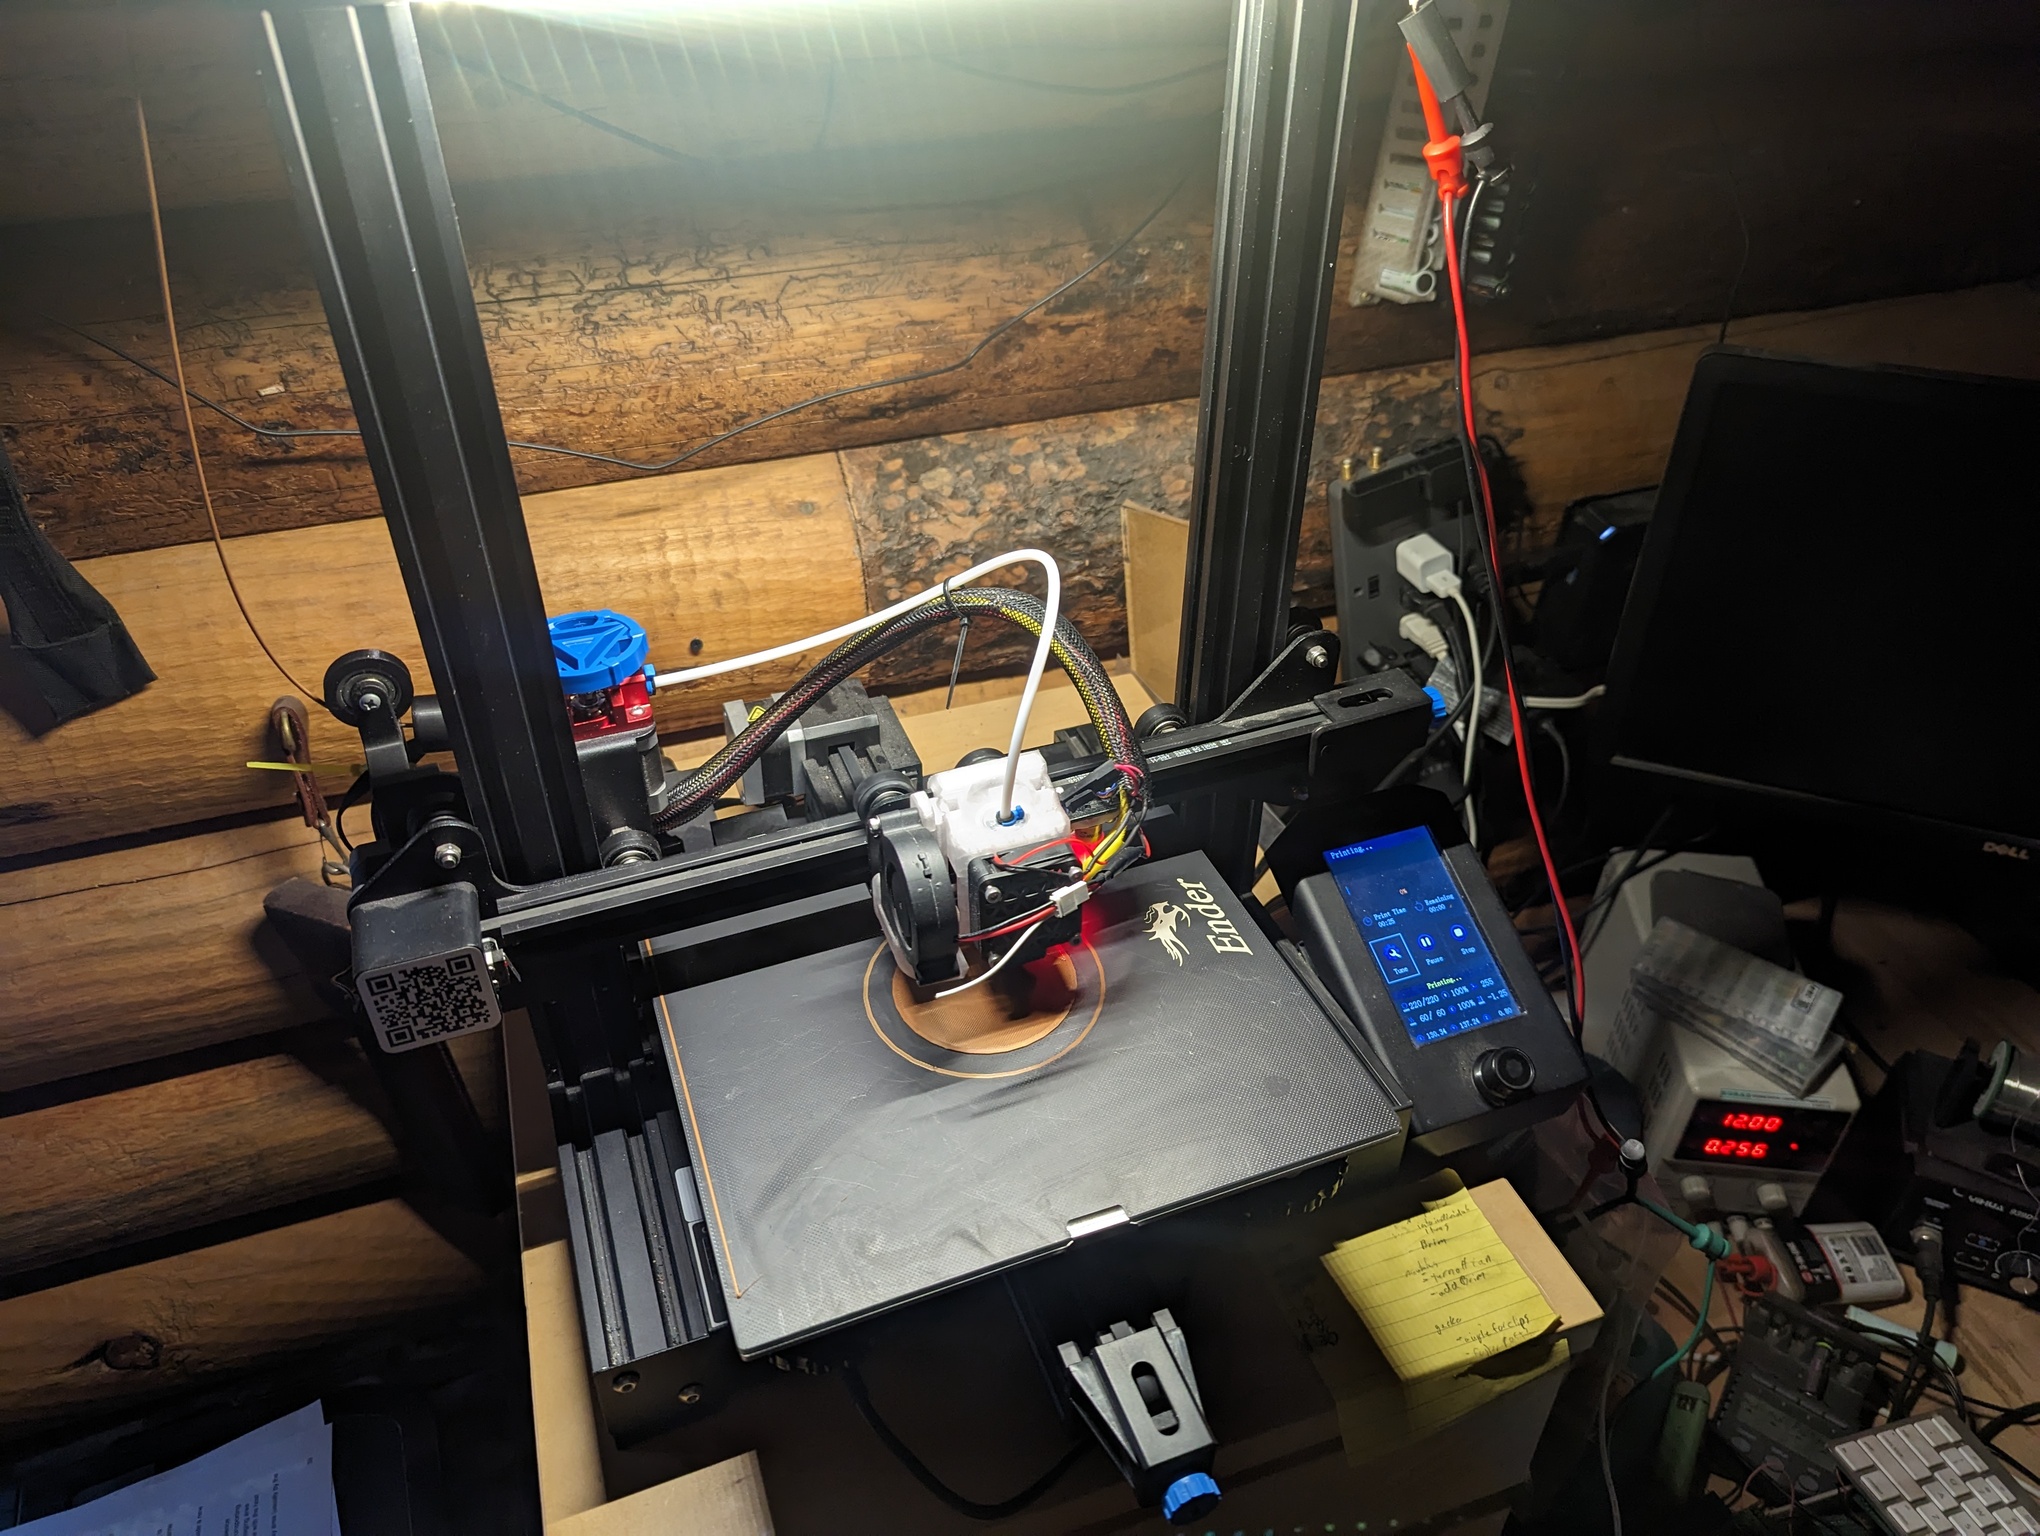
I’ll probably write a non-project post about my printing process but since i’m waiting for this to print i’ll just say i tend to print everything with .16mm layer height, on a .4mm nozzle. I get pretty frustrated when I’m fidgeting with settings when i’m just trying to make something work.
I tend to print with PLA and I’m not super picky about quality as much as I am consistency. If, for whatever reason, my printer can’t print 2 things back to back that look functionally identical, I will go on a mad scientist level of hyperfocus to figure out why. In the 5 or 6 times i’ve done this, the solution has always been attributable (at least anecdotally) to some other change I already made. So I’m trying to change as little as I can and still achieve the results I need. I don’t want to 3d print to get better at doing 3d printing. I want the Star Trek replicator wherein a desire becomes manifest. ![]()
That’s not to say I don’t tinker, because… oh boy do I tinker. I installed the BL touch, upgraded to the E3D all-metal extruder and printed an entirely new carriage and cooling setup for that, replaced bed springs and fans, i have a janky but super bright lighting setup, swapped the extruder tension assembly, and I’m on my 3rd or 4th firmware. I had a power supply failure and drilled a bunch of bottom ventilation holes in the case when i replaced it. But all of that is probably best covered in a rainy day post.
Back to the topic at hand. 1st draft finished:
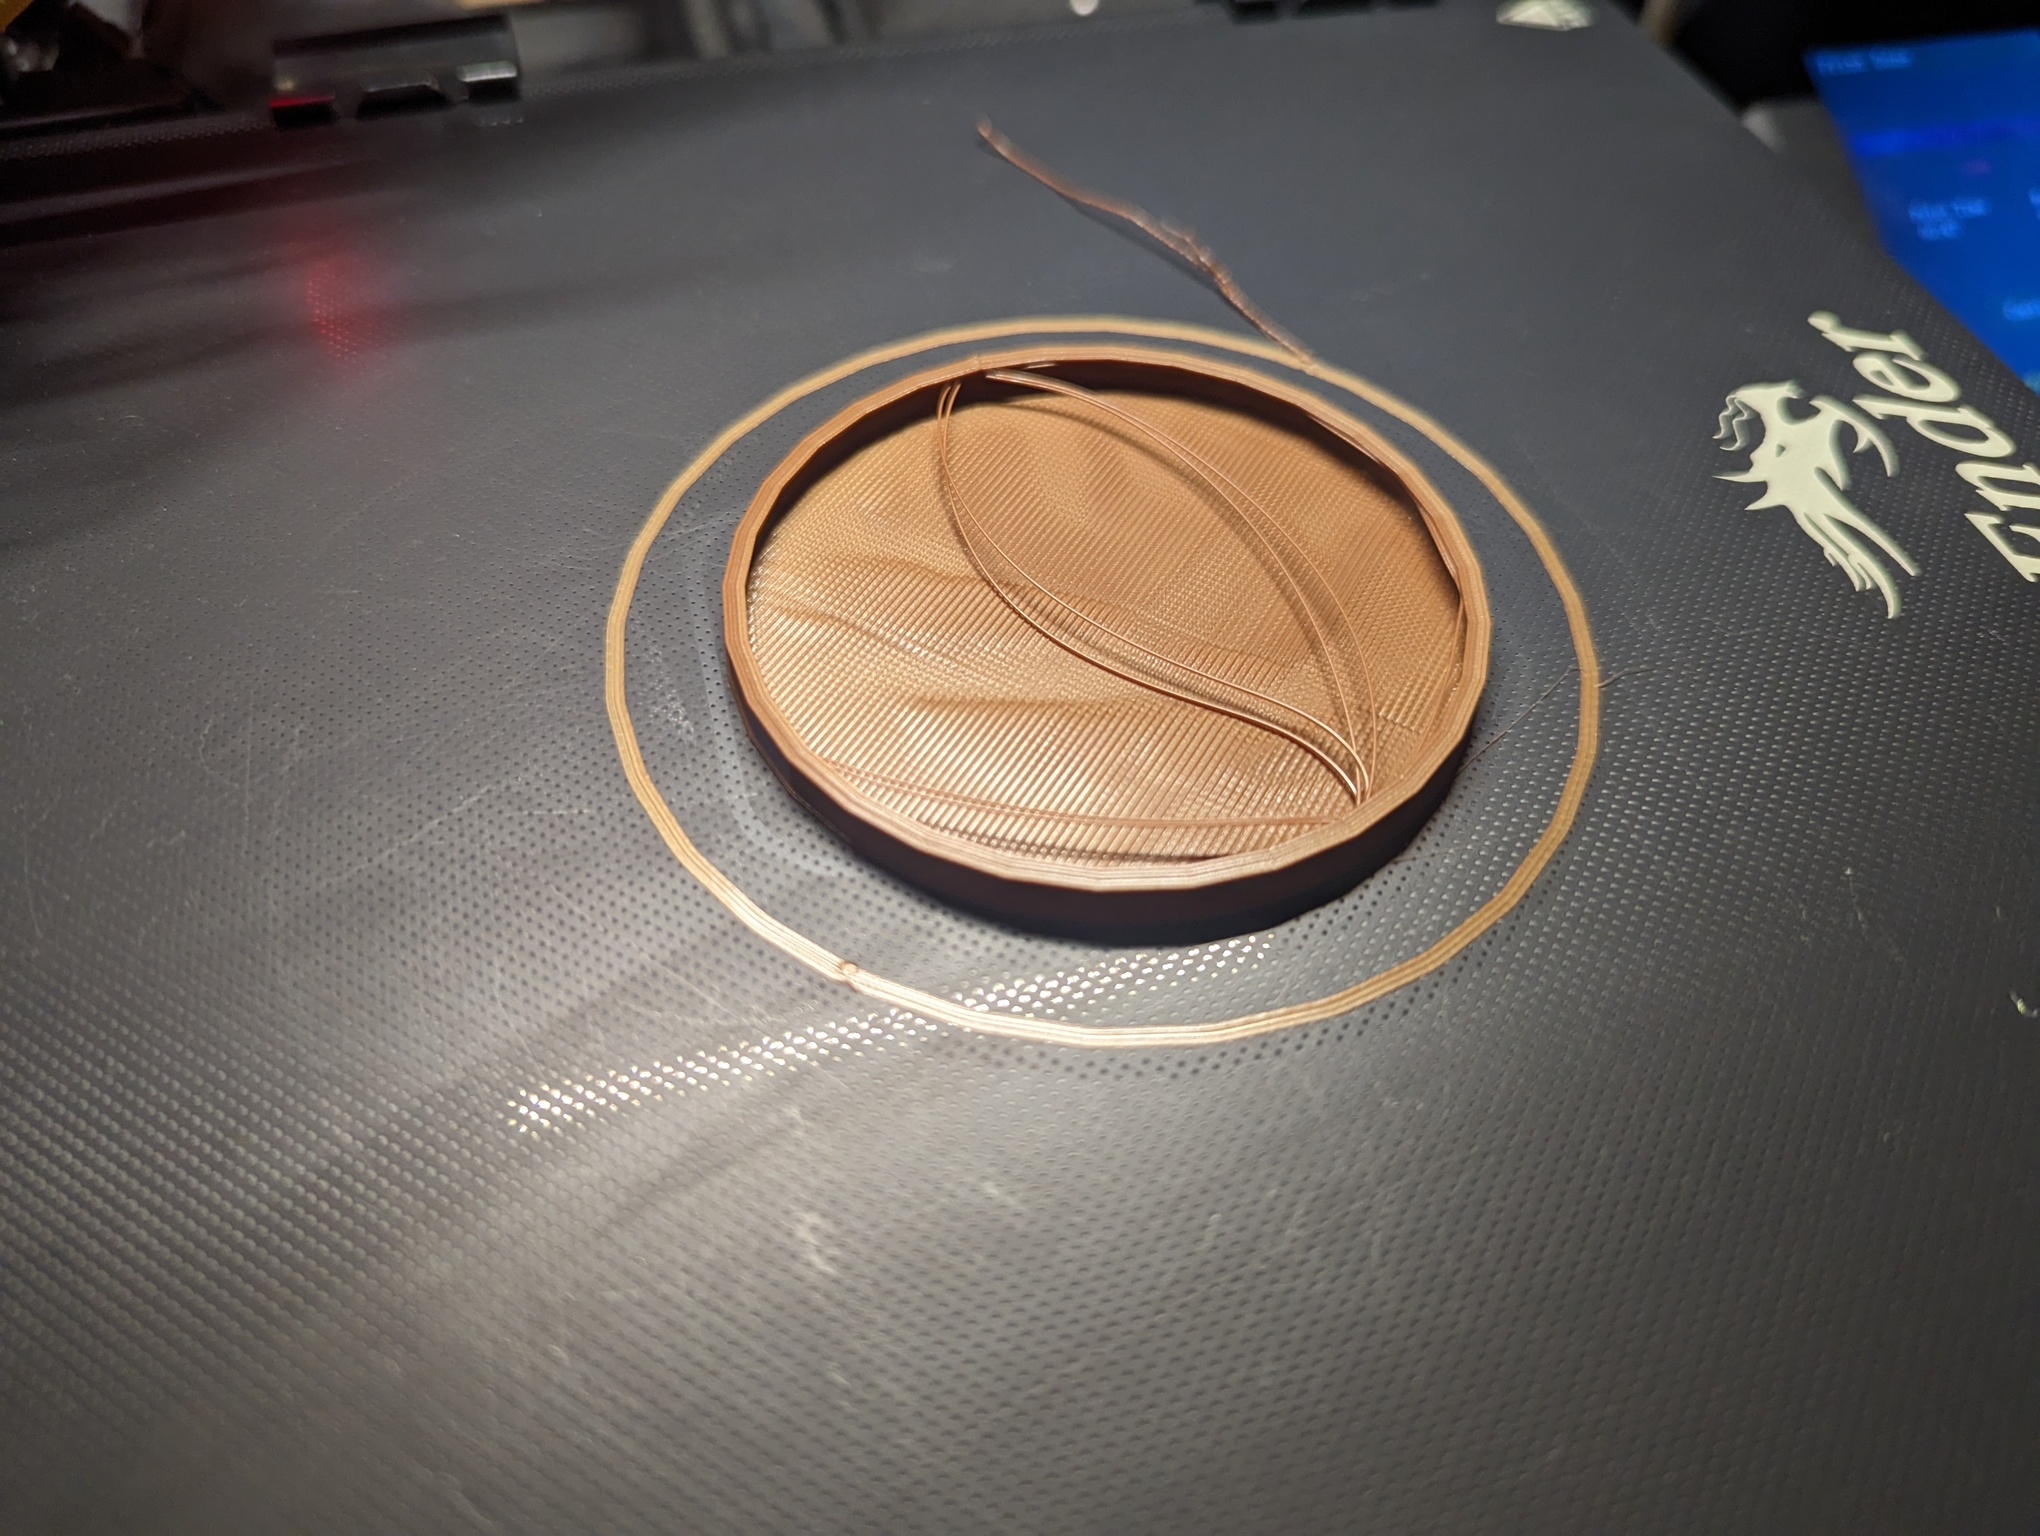
It’s not as bad as it looks, but this kind of thing happens when you I just slam parts together in openSCAD. The transition between the ‘rim catcher’ and ‘rim holder’ is just an abrupt, single layer 1mm jump and it doesn’t print great.
I cleaned it up with a deburrer and slapped it on a can.

It fits like a glove. Like a really, REALLY tight glove. It’s way too tight for our purposes. Additionally, in removing it, i split the Z seam so a reasonably good start honestly. Time for another run:
2nd Go
The aesthetics thing with a few layers not adhering between the catcher and holder isn’t really important to me but I think a change to the catch/hold geometry might kill 2 birds. So my tweaks here are going to focus on making the lid looser and a bit more resilient to snapping on and off.
And because it’s the way i work, I totally redid the implementation using a rotational extrusion. It’s probably the right way to do it, but i dunno. I tweaked the size of the opening over the lid and added a ‘chamfer’ of sorts to see if it’ll print a bit smoother.
module catFoodLid() {
    $dia= 68;
    $size= $dia/2+1.5;
    $th_top = 1;
    $th_catcher = 3.3;
    $th_holder = 1;

// rotate_extrude(angle=360, $fn=100)
    polygon(points=[
    [0,0], //outside center of top
    [0,$th_top], //inside center of top
    [($dia+1)/2,$th_top], //top inside edge of rim catcher
    [($dia+1)/2,$th_top+$th_catcher], // bottom inside edge of rim catcher
    [($dia)/2,$th_top+$th_catcher], //begin angle step down
    [($dia-.5)/2,$th_top+$th_catcher+$th_holder-.5], //end angled stepdown
    [($dia-.5)/2,$th_top+$th_catcher+$th_holder], //absolute bottom, inside
    [$size,$th_top+$th_catcher+$th_holder], // absolute bottom, outside
    [$size,0] //outside top corner
    ]);
}

catFoodLid();
Rerendered profile view in openSCAD shows the updated geometry.
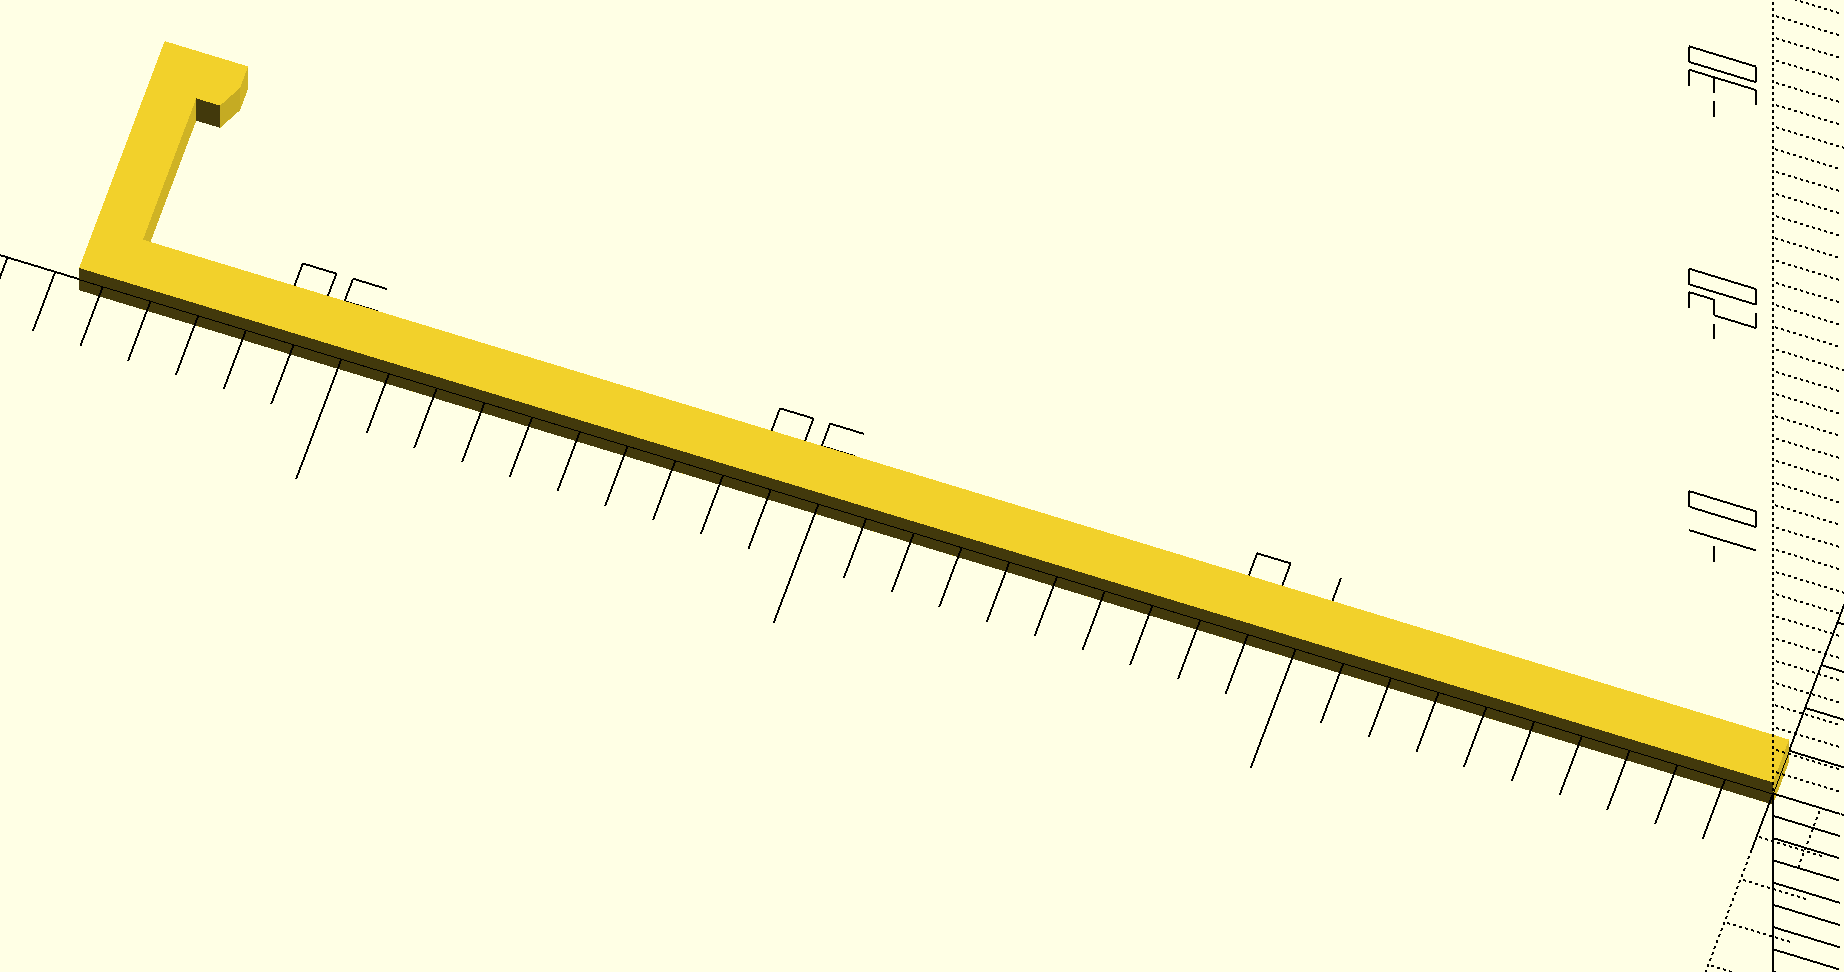
I stepped though the layers in Cura and i’m pretty sure we’re still gonna see those wall strands but meh, like i said. Aesthetics be damned
Slightly faster print time which makes sense given we removed material without dramatically changing print complexity.
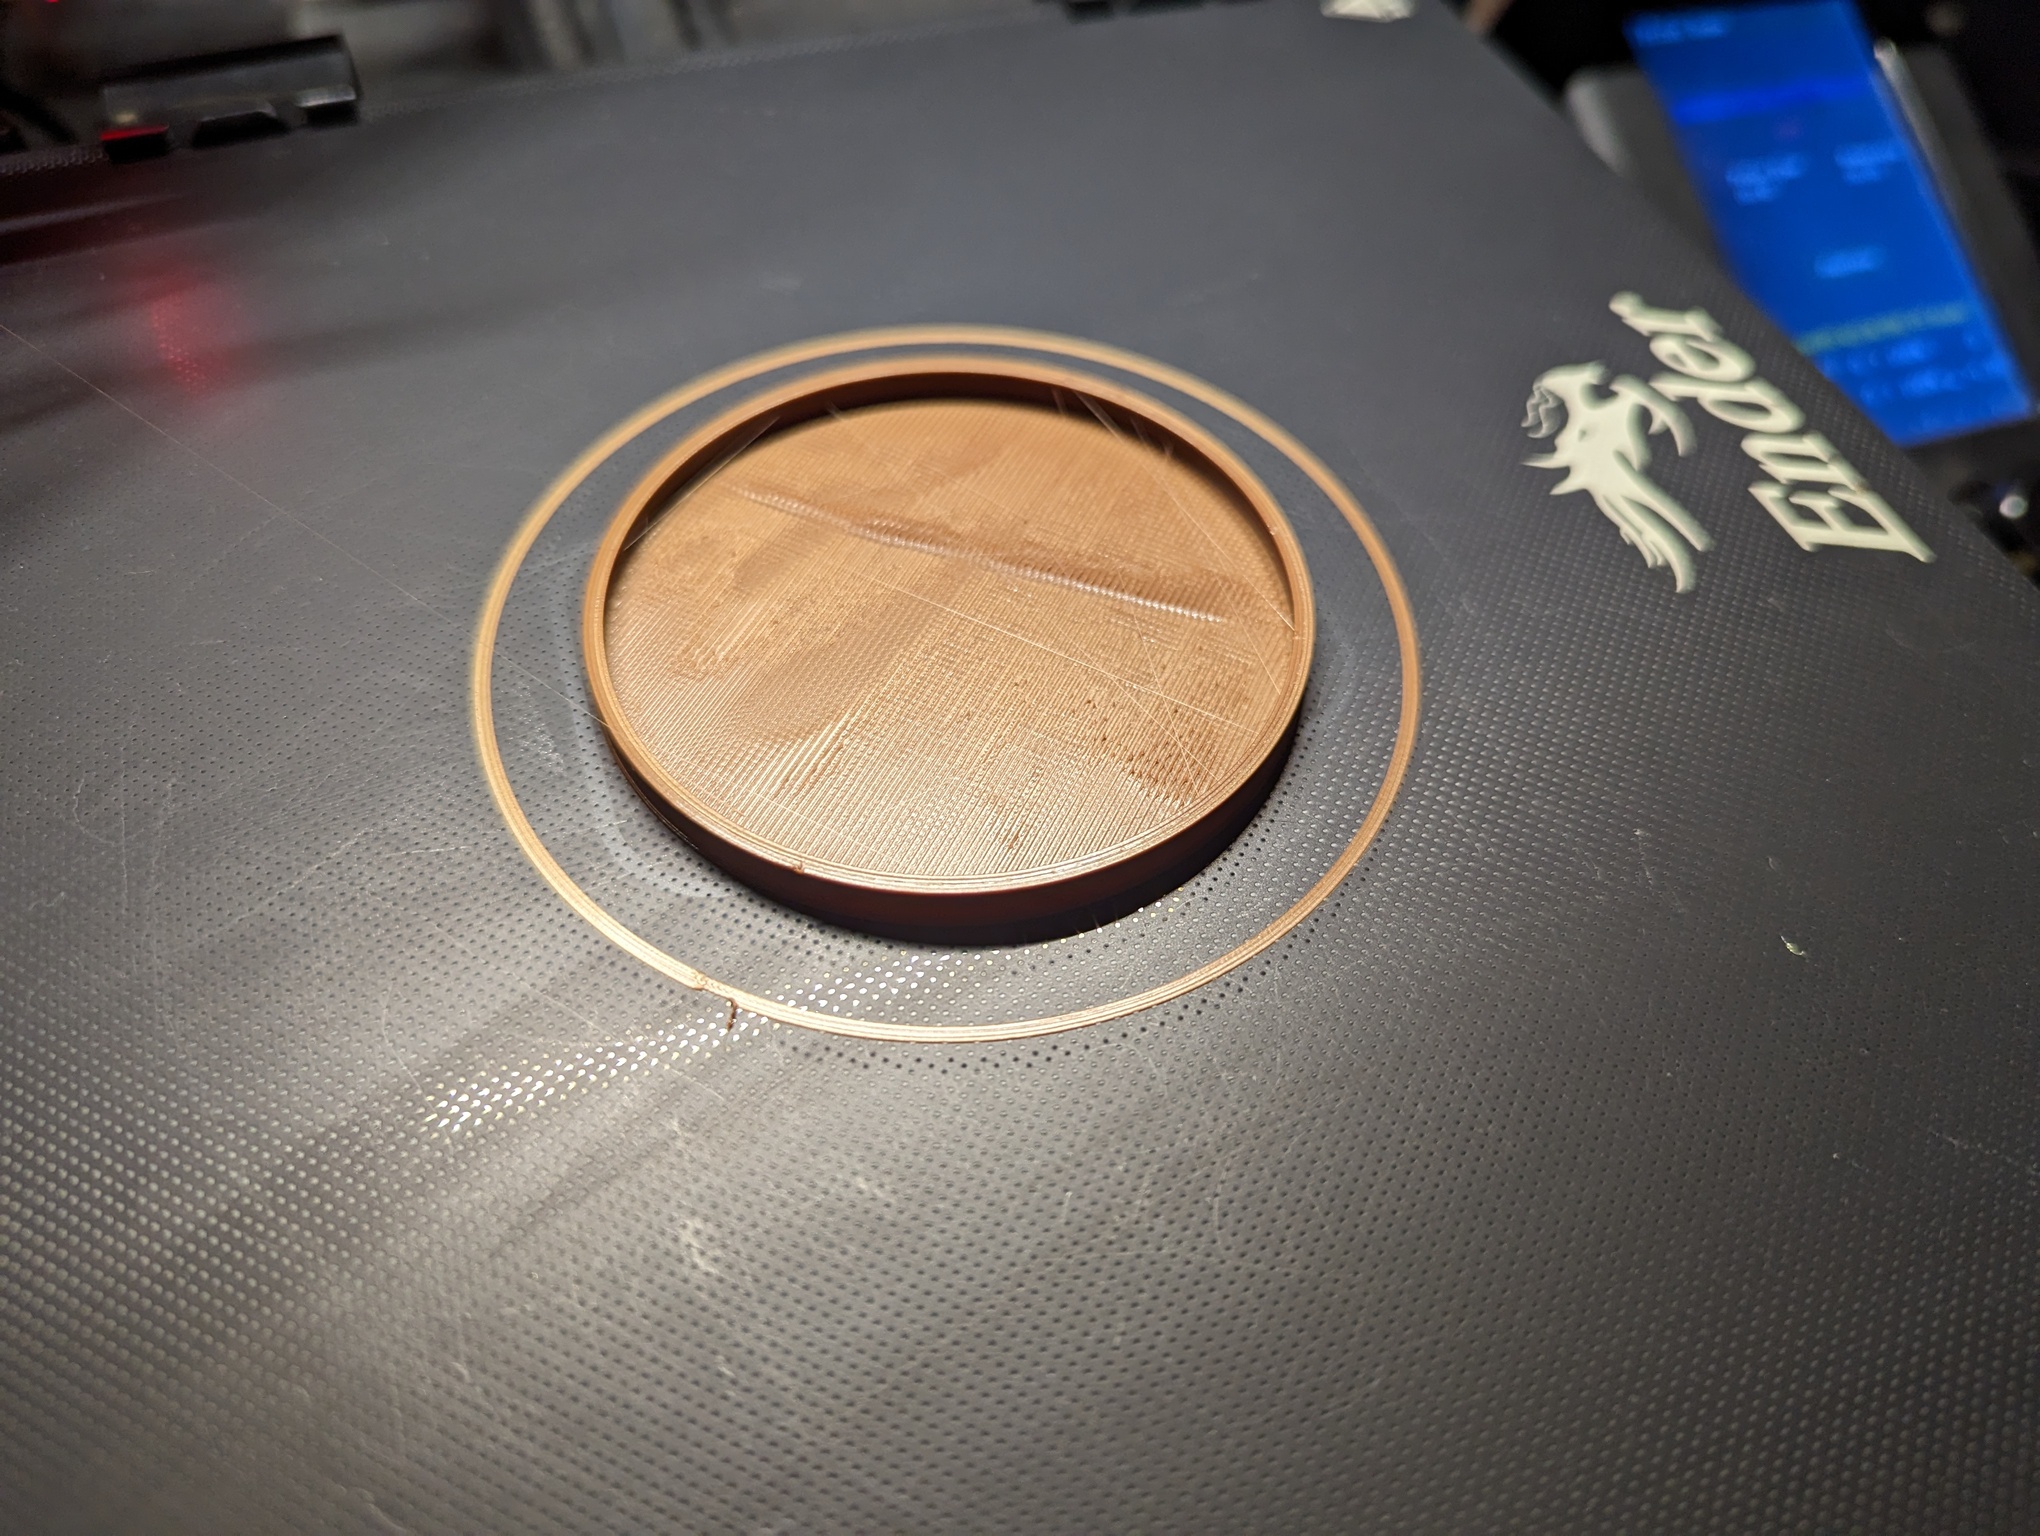
No weird layer drops! ![]() Not sure what’s up with the surface finish but if i had to guess it’s the humidity. It’s been unusually warm here for the last several days and so i’m guessing the PLA is extra wet.
Not sure what’s up with the surface finish but if i had to guess it’s the humidity. It’s been unusually warm here for the last several days and so i’m guessing the PLA is extra wet.
That notwithstanding, it works! It’s quite a bit looser in the catch but holds exceptionally well. And while it’s still quite difficult to remove, i’m confident it’s going to loosen up with a couple uses thanks to that chamfered edge.
The Result
I really enjoy simple modelling like this. All told, the measure/design/refactor active time for this project was probably just a couple hours. And having something that really ‘solves’ my initial problem is just incredibly satisfying.
- Something secure enough to pick up and carry the can around with 5/5, nailed it.
- Something quick to print 4/5, I could get more comfortable with adjusting print settings for speed (and try a bigger nozzle!)
- Something reasonably resilient. 4/5 if it fails, it’ll be because it’s PLA and doesn’t stand up to repeated washings but i have tons of PLA stuff that’s exposed to water constantly and hasn’t failed, so i’m not worried.
All in all, i’ll call it a 4/5. Definite success.
Potential offshoots
I’m pretty sure I won’t spend any more time trying to ‘improve’ this one, but if I do it’d probably be to adapt it for some flexi filament or to add a tab/bigger lip for leverage to remove it (if it doesn’t loosen up through use)
As always though, there are 3d printing related things that bugged me:
- I need to get my lighting setup with actual power. (it’s currently connected via alligator clips to my benchtop power supply.
 )
) - I should get an enclosure setup with air exchange/filtering. I have the Creality one for the v2, i just need to do a filament feed change and get a base platform for the dresser the printer is on. Air filtering would be extra, but even just the enclosure would be better.
- If i’m changing filament feed, i should build a humidity controlled filament box to feed from.
- I bought a couple of the Adafruit CCS811 air quality sensors to throw at an ESP or RPi (if i could ever get one) ages ago and they’re just gathering dust.
- My cooling fans are cheap and very loud. I’d like them to be quieter.
- I’d like to get network storage setup so I can skip ‘uploading’ prints to Octoprint. This would be a really quick project.

- I should learn more about openSCAD and dive into Fusion (or similar). Both would require some specific project or need (and, surprise surprise, i have a couple ideas.)